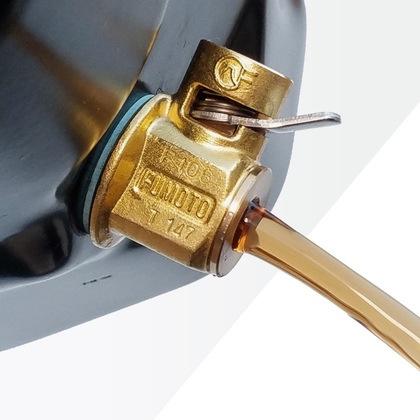
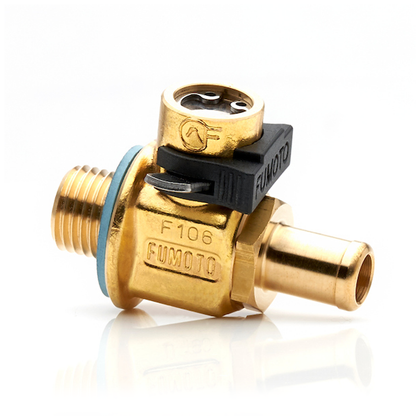
The Original Fumoto Oil Drain Valve has been improving the way oil changes are performed since 1976. By replacing your oil drain plug with a Fumoto valve you can eliminate the mess and the need for tools in your oil change. Choosing Fumoto means no more messy oil spilled on your vehicle, clothes, and floor. Gone are the days of frozen drain plugs and stripped threads. All of a sudden drawing samples for oil analysis is as easy as one, two, three. It's time to upgrade your oil changes by choosing Fumoto.
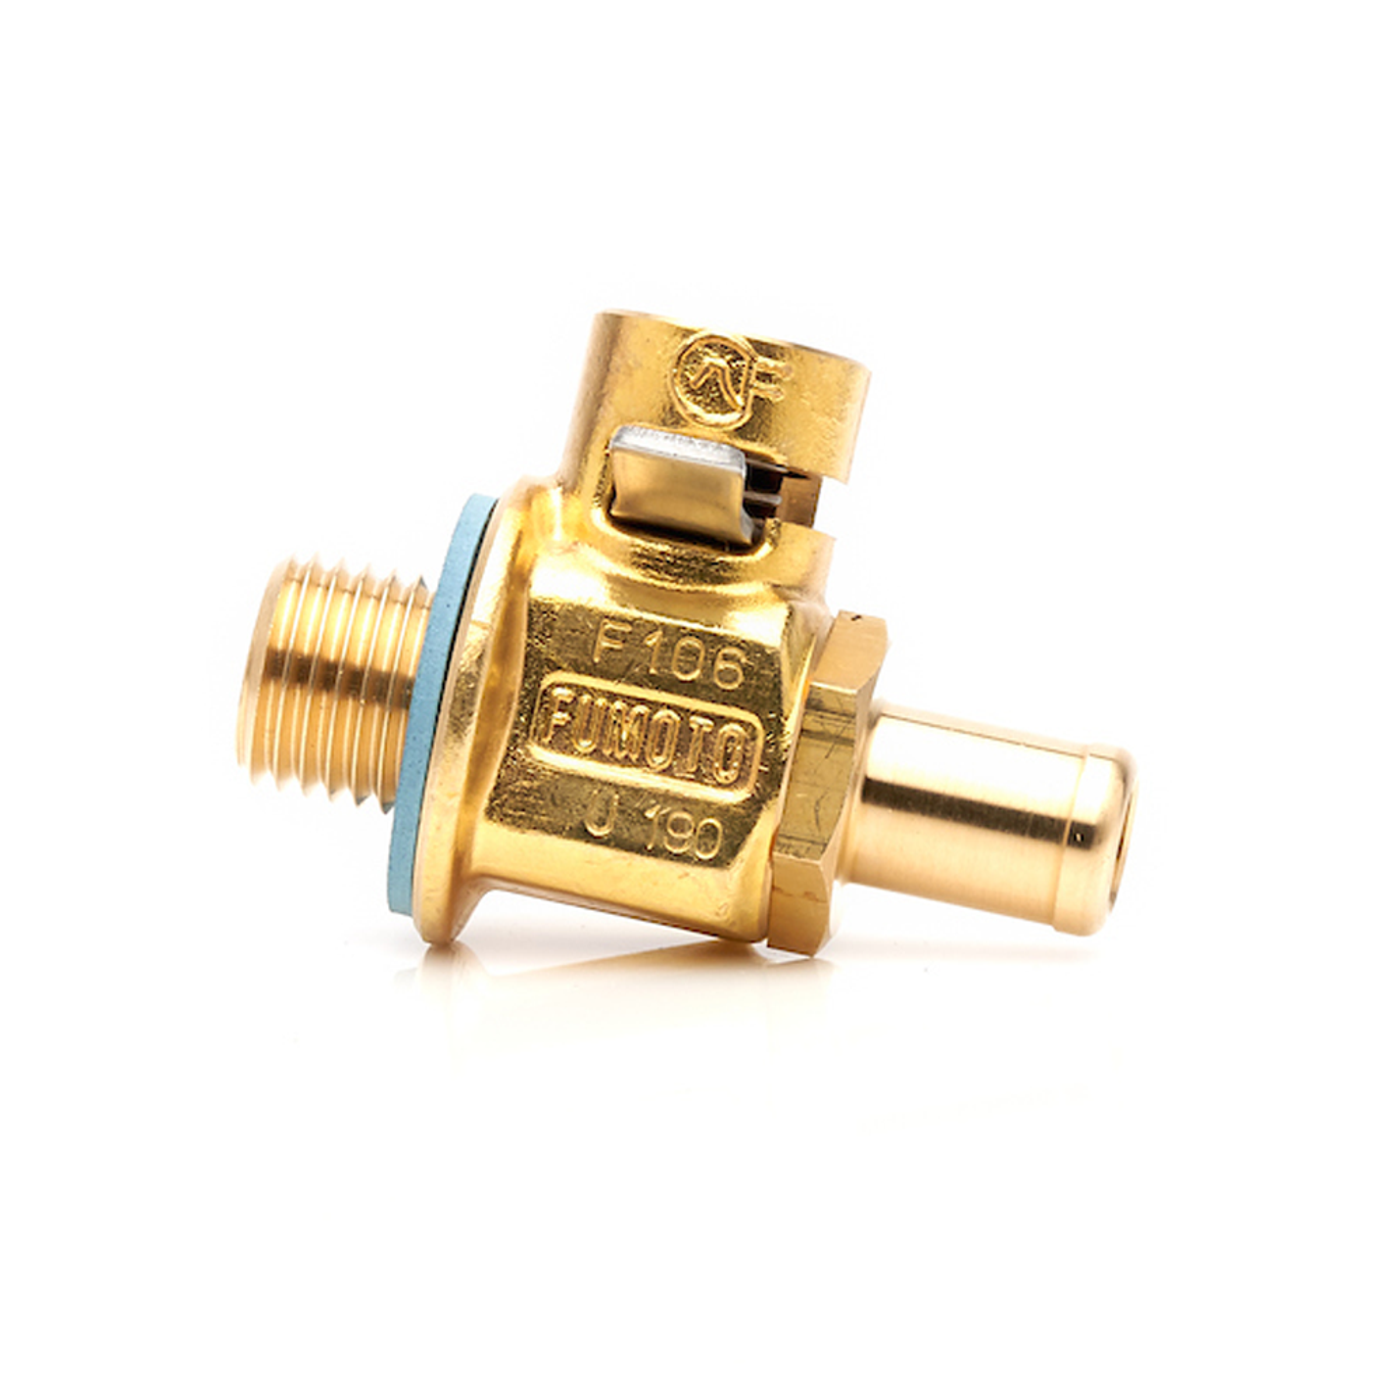
These valves have 15mm hose nipples in length. We recommend using these valves on industrial engines and vehicles with high ground clearance.
*NOT RECOMMENDED FOR VEHICLES WITH LOW GROUND CLEARANCE*
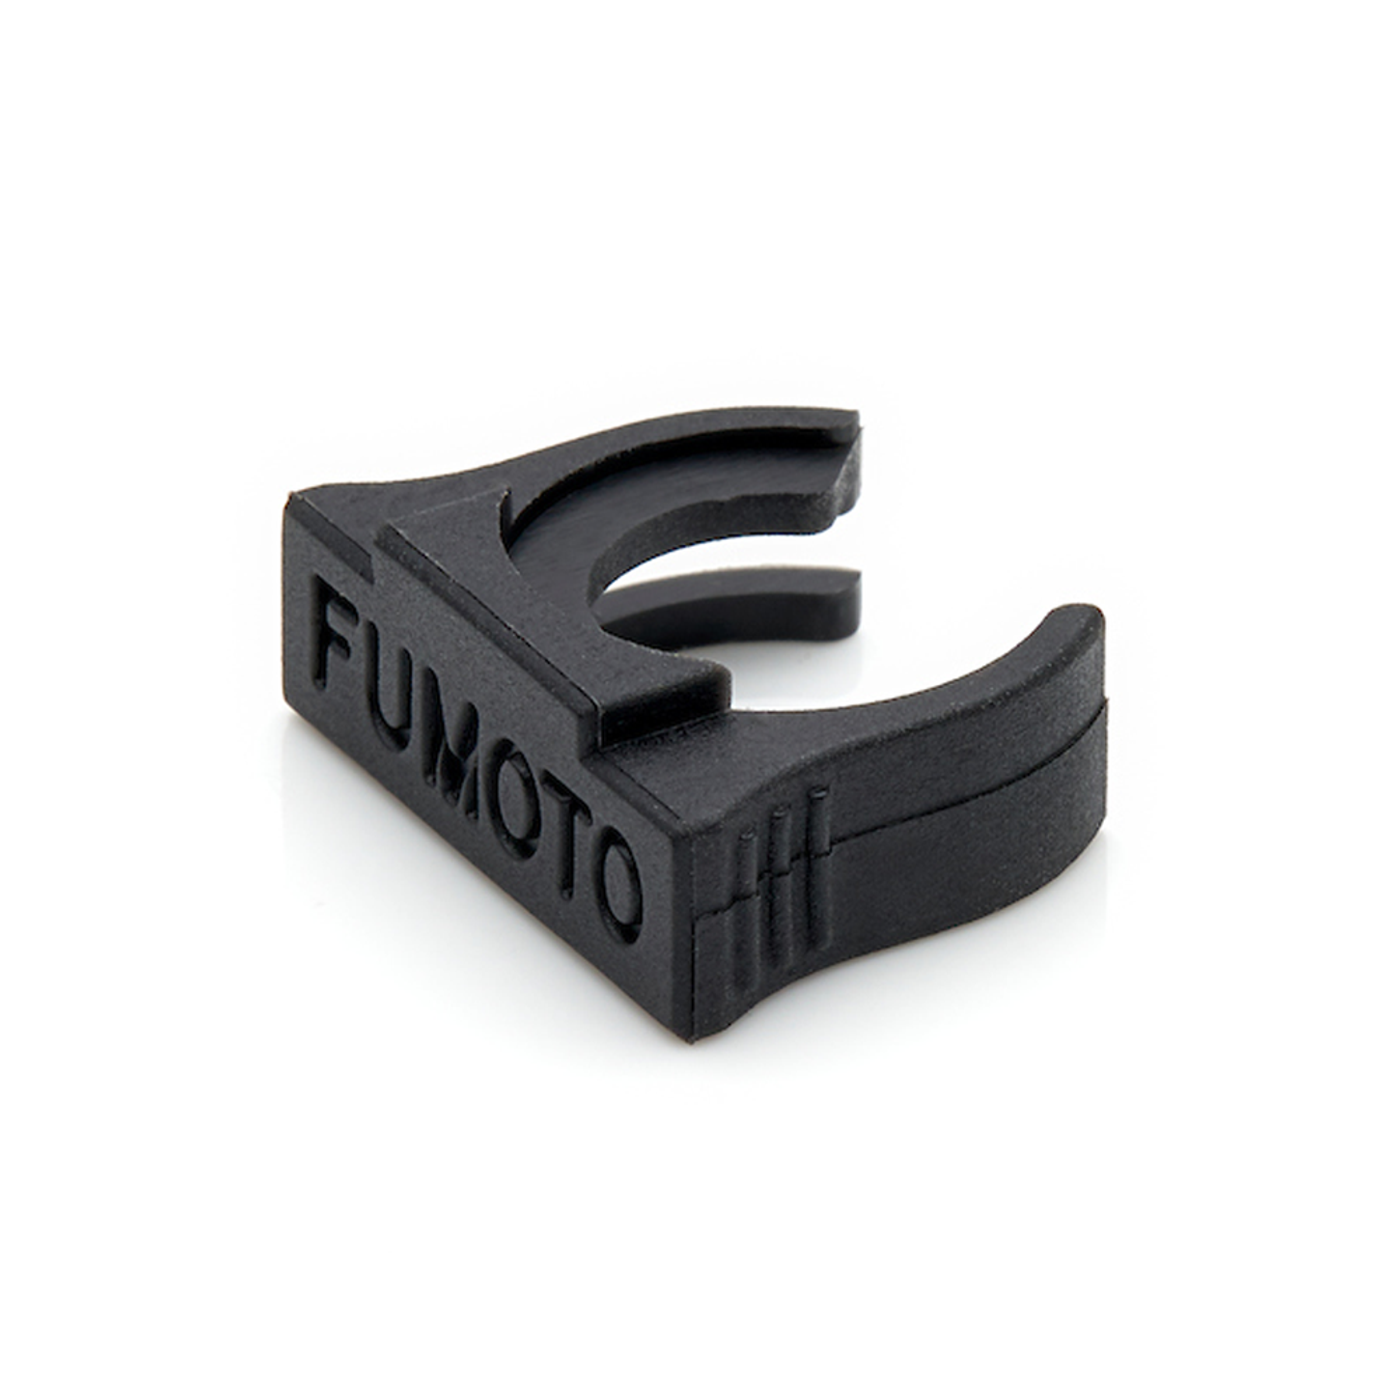
Features: - The one-time drain plug replacement becomes your permanent oil changing solution - Mess-free, tool-free oil changes that keep your hands, clothes, and floor clean. - Money-saving DIY oil changes are now easier. - The straight flow structure designed for quick oil draining. - The valve is double-sealed from both ends to prevent leaks. - Our original UP & TURN lever motions withstand any engine vibrations for no accidental openings. - The lever clips provide additional security to the valves. - All the valves are manufactured by our affiliated ISO-certified factory in Japan and leak-tested prior to being shipped. - Limited Lifetime Warranty for the item(s) purchased from Fumoto or our authorized sellers in the US or Canada.
Install: 1. Prep Work: Assemble: Place the blue fiber gasket (not required for tapered thread or O-ring valves) onto the valve so it will sit flat between the oil pan and the valve once installed. Prepare: Remove drain plug from oil pan. Drain old oil. Clean drain port area before installation.
2. Install: Hand tighten: Thread the valve into the oil drain port by hand, do not cross-thread. Fully Tighten: Tighten with a crescent wrench on the body of the valve* â…› to ¼ turn past hand tight, or to the value shown on the torque chart for your valve model. Do not over tighten. Do not use a wrench on the head of the nipple outlet if present. An adapter may be required if the valve cannot be completely tightened due to contact with the oil pan.
3. CLOSE AND FILL UP: Close the the valve by firmly turning the control lever clockwise until it stops and is perpendicular to the oil outlet. The lever will click into the recess and lock in position. Install a lever clip (optional) and refill with new oil.
OPERATION To open the valve, remove the lever clip if installed then lift the lever and turn it. To close the valve, For Standard valves turn the lever firmly until it stops and is perpendicular to the oil outlet. For SX type valves turn the lever firmly until it stops and is parallel to the oil outlet. The lever will click into the recess and lock in position. You should not be able to rotate the lever without first lifting upward. Reinstall the lever clip around the turret of the valve. If the lever is not seated properly, the lever clip will not fit.
WARNING: Check the oil pan for leaks before operating your vehicle. Drive carefully at all times, and if you run over any foreign object on the road pull over and inspect the valve for any damage or leak.
SKU: F133N



 Always interest-free.


